Installation
Installation
A number of options are displayed during the installation:
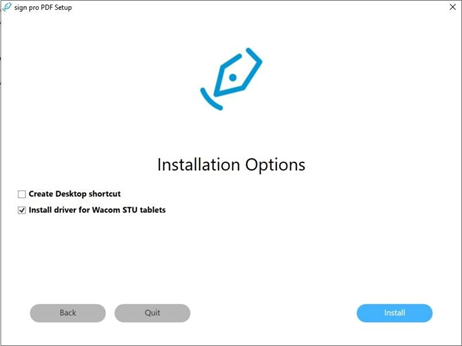
- Create Desktop shortcut - for convenient access to the application
- Install driver for Wacom STU tablets - only if you intend to connect an STU signature pad
Following installation, the first time you start sign pro PDF you will need to make a number of selections, any of which you can change later on in Settings.
Licensing options
First, choose the licensing mode to use:
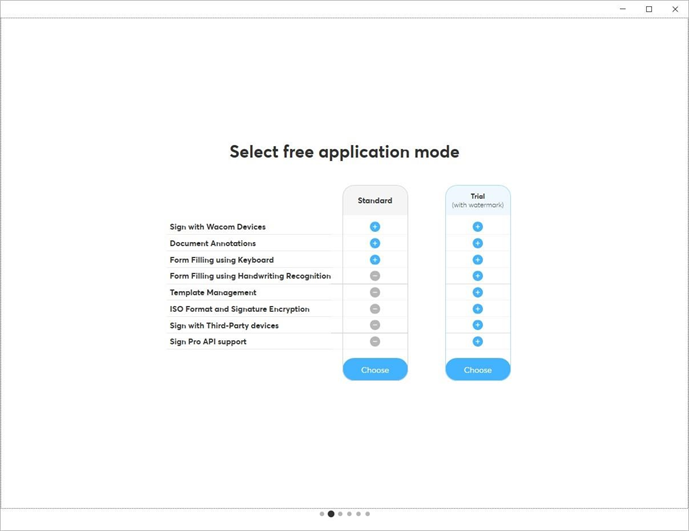
- Select Standard mode to use sign pro PDF in its basic form to sign, annotate, and form fill PDF documents.
- Select Trial mode to explore the extended operations listed, with the limitation that a watermark is displayed until you install your purchased license or return to Standard mode.
Select the default folder used by the application:
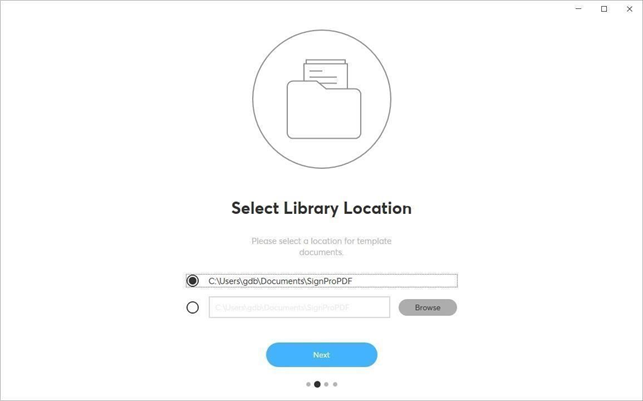
The folder name is used as the default for Save-As operations. It is also used to save the local certificate.
Creating a digital certificate
Next, you will need to select a digital certificate used in the document signing process:
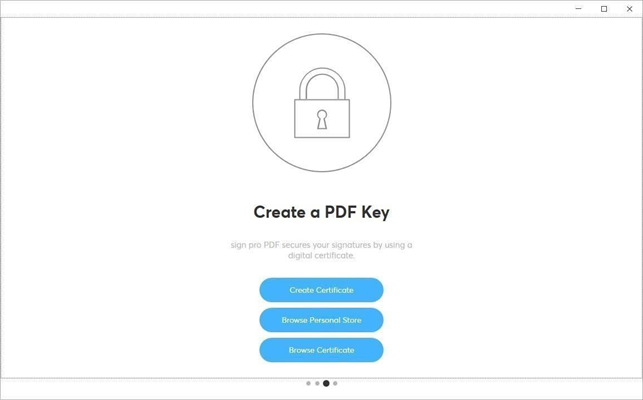
If you have an existing certificate, use one of the browse options to read it directly from the file, or from the Windows certificate store.
Alternatively, allow sign pro PDF to create the certificate for you following the instructions provided.
The certificate created is a self-signed certificate. When a PDF document is signed using a self-signed certificate, the signer’s identity cannot be verified by the recipient of a document. We recommend that you obtain a certificate (also known as a private-public key pair or a digital ID) from a certification authority if you are planning to send your signed documents to many different recipients.
For users looking for a safer solution, it is recommended to use the Windows certificate store method.