Tools
Open File
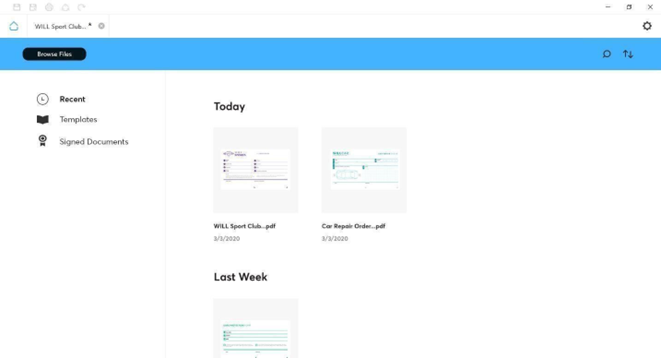
On startup, sign pro PDF displays the file access page.
A standard file browse option is available. In addition, three categories of files are listed:
- Recent – PDF files recently saved
- Templates – PDF files created using the Authoring tool
- Signed Documents – PDF files signed and saved
The files are displayed as thumbnail images with search and sort commands. The file lists are maintained in a database recorded alongside application settings.
When using Wacom's virtual channel component, the Idle mode image not displaying on the STU device when connected via RDP/Citrx is expected behavior.
In the current implementation, this feature where the Idle mode image is present remains only available in a local environment.
Sign & Fill
Select a file to open it. If the file selected features multiple pages, they will appear in the UI. Users may scroll with the mouse, select each individual page or – if using a touch screen device – scroll by dragging the pen. In a standard installation, Sign & Fill is selected:

The PDF is displayed with a toolbar:
![]()
Sign
![]()
To sign, click the tool then draw a rectangle using a mouse or pen. When the rectangle is large enough, a signature will be captured and displayed in the rectangle.
To sign in a signature area created using Authoring, click Sign then click in the signature area.
If, in the API, showing manual signatures has been set to true, field areas can be created by touch and mouse. However, touch scrolling is not allowed. Additionally, if the top bar is hidden, Sign is automatically selected. However, form filling and annotations will not be accessible when the toolbar is not displayed.
Ink Tool
![]() Click the tool to start a freehand drawing in the document. By clicking the tool a second time, you can choose the ink color from a palette. Use mouse or pen to draw ink in the document.
Click the tool to start a freehand drawing in the document. By clicking the tool a second time, you can choose the ink color from a palette. Use mouse or pen to draw ink in the document.
Note that a Wacom STU signature pad pen has no control over the Windows mouse pointer and therefore cannot be used for this operation.
Erase
![]() Use the tool to erase individual freehand ink traces drawn using the ink tool.
Use the tool to erase individual freehand ink traces drawn using the ink tool.
Highlighter
![]() Use the tool to highlight selected text. Drag the cursor over text to select it for highlight.
Use the tool to highlight selected text. Drag the cursor over text to select it for highlight.
Underline
![]() Use the tool to underline selected text.
Use the tool to underline selected text.
Strikethrough
![]() Use the tool to apply strikethrough to selected text.
Use the tool to apply strikethrough to selected text.
Select
![]() Use Select to change a toolbar selection and to select a field for form filling.
Use Select to change a toolbar selection and to select a field for form filling.
If using a device that supports touch, users may zoom by touching two fingers on the touch screen, then moving them apart to zoom in, or together to zoom out. Users may additionally use touch with one finger to scroll through a document, either vertically or horizontally, by moving their finger in the desired direction.
Comment
![]() Use the tool to add a comment/sticky note. Click in the document where the note should appear. A popup dialog allows you to enter text for the note.
Use the tool to add a comment/sticky note. Click in the document where the note should appear. A popup dialog allows you to enter text for the note.
Undo
![]() Use the tool to undo a previous change made on the document.
Use the tool to undo a previous change made on the document.
Redo
![]() Use the tool to redo a previous change made on the document.
Use the tool to redo a previous change made on the document.
NB: In API mode, if showing the manual signature has been set to false in the API, then scroll pinch zoom, as well as scrolling through the document by touch, will be enabled. Tapping on an existing signature field or other input should still trigger the signature.
Multiple Displays
When a secondary Wacom pen display such as a Cintiq is detected in addition to the main Windows display, sign pro PDF gives the option to Sign & Fill on the Wacom pen display by including an extra toolbar button:
![]()
Click Open on Display to transfer the document display and pen input to the Wacom pen display. A dialog is displayed on the main Windows display:

Click Sign & Fill Completed to return control of the sign pro PDF application to the main Windows display.
If a display device is connected after launching sign pro, the application will require to be relaunched in order for the Open on Display option to be available.
Form Filling
A PDF document can contain form fields from its original creation or by using Authoring mode. These field types are supported in Sign & Fill:
- Check box – Click to change a checkbox selection.
- Radio buttons – Click to toggle a radio button.
- Date – Click to display the date picker dialog.
- Text – See below.
- Signature – See below.
Text Field
Click a Text field with the mouse and enter text using the keyboard. Alternatively, click the text field with a Wacom pen to display the text input dialog:
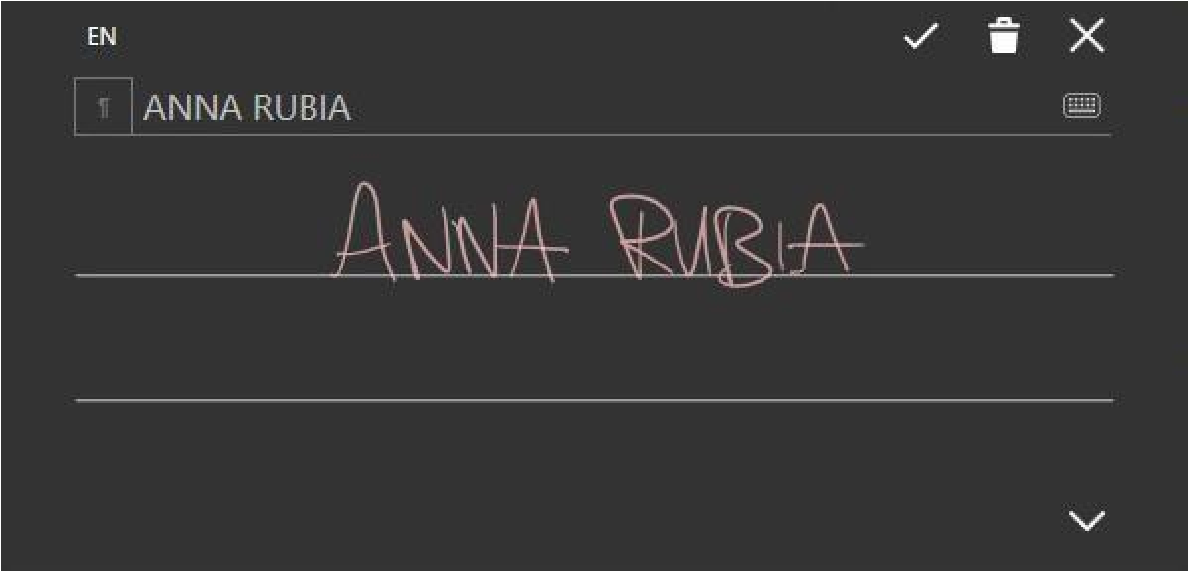
You can then use automatic handwriting recognition to enter text. If required, use the keyboard tool provided to make a correction.
The Wacom STU signature pad pen is not supported in this feature.
Signature Field
Use the Sign tool and draw a rectangle, or click a template signature field to enter a signature:
Depending on the Manage Signature settings, you may be prompted for the signature details:
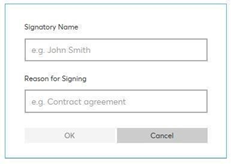
Enter the required values to start signature capture:
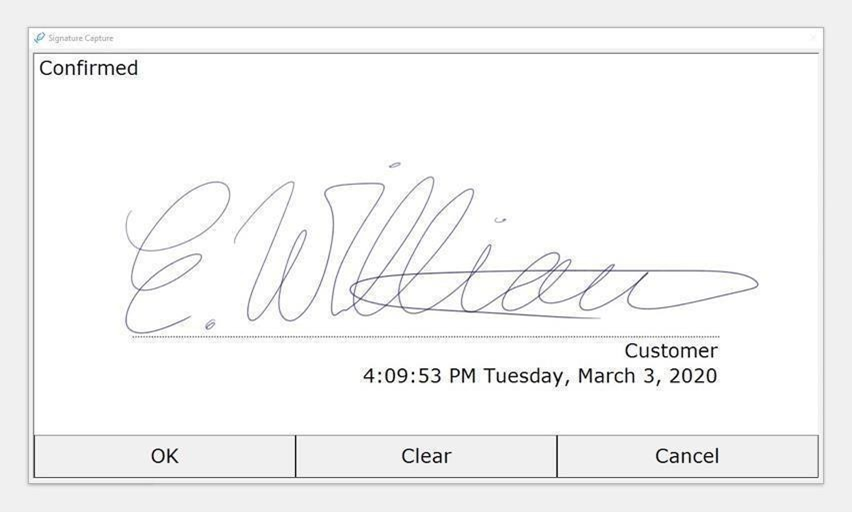
Sign using a pen and press OK on completion. Use the Clear button to sign again if required.
After signing, the signature will appear like so:
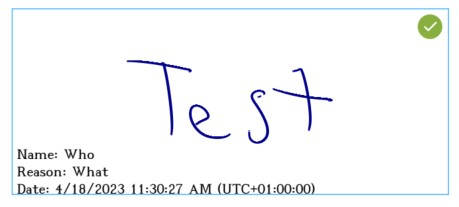
The name of the signee and reason for signing may be set within the settings. Additionally, note the green tick in the corner of the signature’s box.
![]()
- A green tick will indicate that no changes have been made. This is the standard behavior after initially signing.
![]()
- An orange alert means that the document has been changed since it was last signed, but only in accordance with changes allowed by the document settings. For example, if you configured Sign Pro so that it is permissible to add annotations to a document after signing it, the alert will turn orange if someone adds an annotation after the document has been signed.
![]()
- A red cross will indicate that changes have been made since the signature was added. For example, if a date field was added after a user had previously completed signing a signature box.
File Menu
On completion, use one of the file menu options:
![]()
![]()
- Save: Replace the open file.
![]()
- Save As: Save the file in a specified folder and filename.
![]()
- Print: Print the file.
![]()
- Share: Send the file by email.
![]()
- Rotate: Rotate the document display.
Authoring
Mode Selection
In a standard installation, Sign & Fill will be selected.
To select Authoring mode, a suitable license is required (see Settings…About).
Use Switch mode to change to Authoring:

Alternatively, use Settings…General to change the default mode to Authoring.
Open a File to Start Authoring
Create fields in the document by opening a file for authoring:
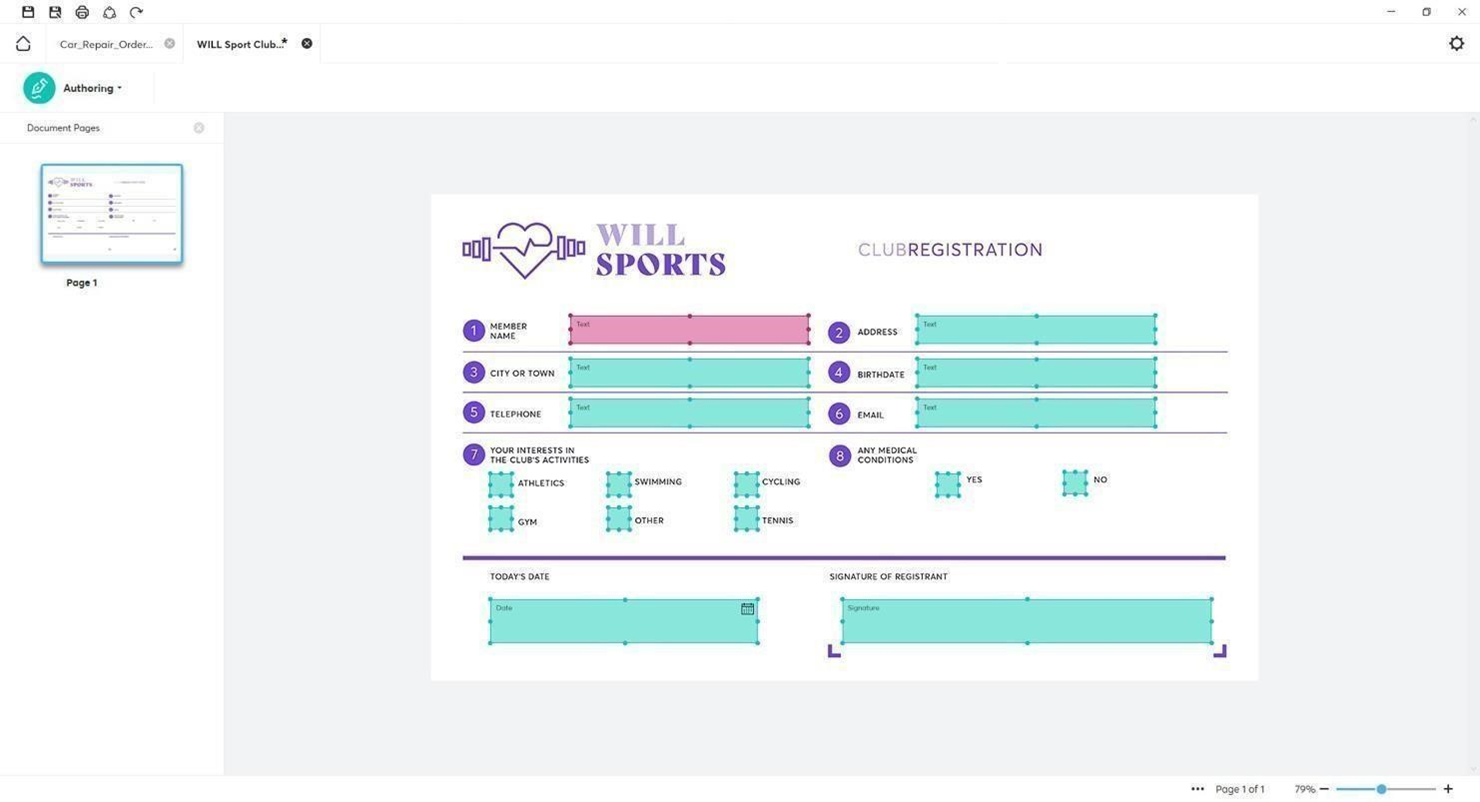
Create Fields
You can now add and modify fields in the document.
Draw a rectangle with the mouse or pen cursor to create a field:

- Signature: Define a unique name for the Signature field.
- Checkbox: Define a unique name for the Checkbox field.
- Radio button: Define a unique name for the Radio button field. The button must be assigned to a group name, which can be defined in the dialog. Initially, ‘New group’ is displayed and should be edited. Additional radio buttons allow the name to be chosen in the dropdown selection.
- Required: When selected, the field will be shown as required with an asterisk
*. - Delete: Use the option to delete a field.
You can change the size and location of the field by dragging the field sizing handles.
Right-click an existing field to edit its definition.
Note: Touch scrolling and pinch-to-zoom are not supported in Authoring mode.